
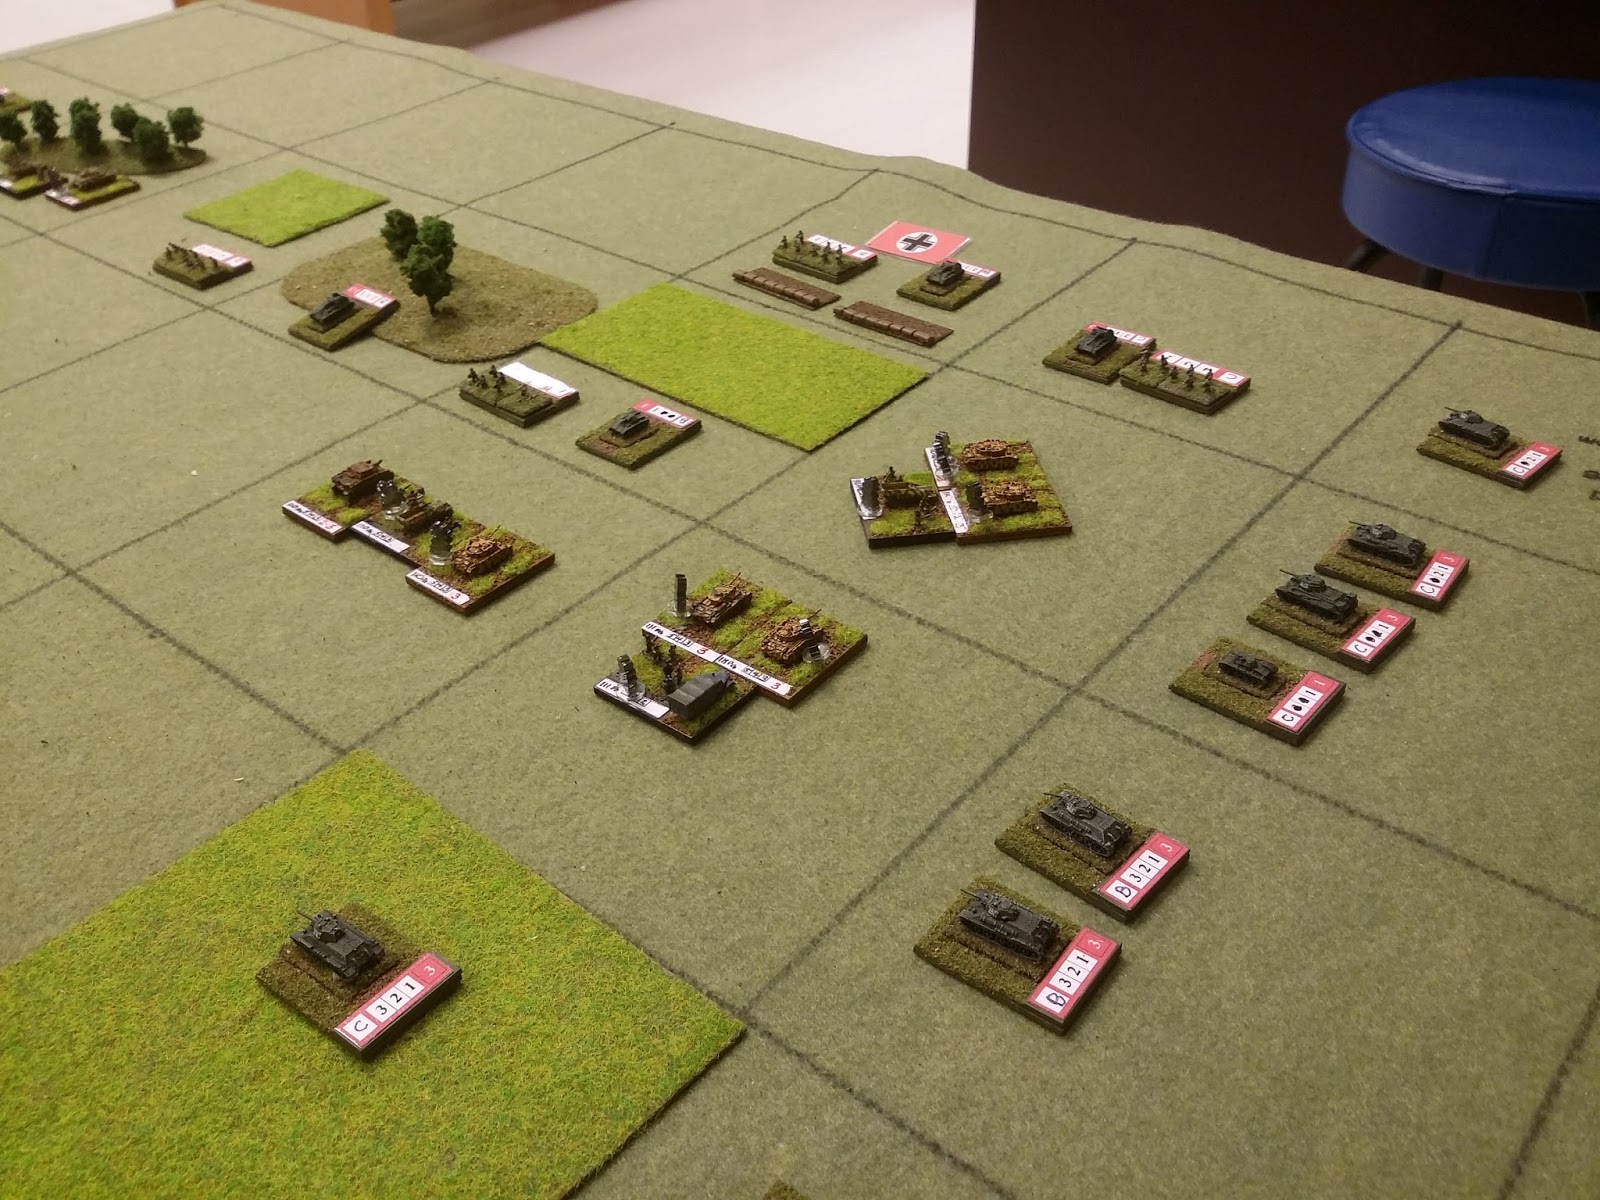
Positions after German Turn 1
Looking at the Breakout scenario, the objectives seem daunting for the attacker. Exiting a quarter of your fighting force and securing an objective at the far end of the map while protecting your lines of communication with the enemy already on both your flanks was the design of an evil mind. That being the challenge I deployed my forces. My elements were:
15th Panzer-
PzIV battalion
PzGrenadier battalion
Motorized battalion
15cm SPA
10.5cm SPA
110th Panzergrenadier-
Pz III Battalion
PzGrenadier battalionMotorized battalion
2 coys Sturmpanzer IVs Infantry Support
111th Panzergrenadiers-
Pz III Battalion
Motorized battalion (Pioneer trait)
Divisional assets-
2 15cm Heavy Artillery battalions

German grab for advantageous terrain
My plan was to go aggressive and grab whatever terrain I could in the center of the map. The scenario prevents me from attacking the Soviets on turn 1. 15th Panzer drove up left center while 110th PG went right. I played the Off Road event so they wouldn't be tipped. The pioneers of the 111th PG took up defensive positions around my supply source. My artillery had no choice but to deploy unprotected in the open for barrages so the PzIIIs of the 111th hung back to both protect them and delay any Soviet efforts to cut my lines of communication. My road movement and a tactical phase saw a good push up the map with the motorized companies deploying in urban and woods terrain. I was hoping any Soviet attacks would attrit themselves against defensive positions.

Armored units push forward. Motorized infantry and supports defend the villages.

The Soviets play conservatively and retreat to cover the objective while leaving forces behind to defend his supply lines
An opportunity presented itself to destroy 2 of the 3 Soviets artillery units near the corner of the map. I played Gaps in his lines, shot through the Soviet forces and attacked his artillery with 15th Pz. I thought I had enough factors between 15 Pz and supporting barrages to obliterate them. Well, my die roll was paltry and I only scored 1 hit so 1 battery survived. Steve played Gun line and scored a hit on me and I retreated. Lost opportunity. Here is another elegant piece of design by Sam. Throughout the battle, a factor here, a shift there, a tactic or 1 pip of the die subtley changes the course of the fight. It is like drinking tequila. You may survive a shot or two but more than that you start heading towards the floor. This was just one step in that direction.

A strong armored push towards the objective by 15th Pz and the failed attack on the artillery left units vulnerable.

Which the Soviets exploited with a strong counterattack and a devastating attack roll leaving this German force combat ineffective.
I continued to put pressure on Steve with the armored units of the 15th and 110th which had to constantly defend against Soviet counterattacks. The Soviet losses were adding up but I couldn't continue taking attrition losses and hope to be strong enough to seize the all important objective. Steve later admitted he should have not attacked but let me batter my forces against his defensive wall.

The Germans are within a kilometer of their objective!

The Soviets scrape together whatever they can to stop the German push.

But another tequila shot and a lone defender watches as the Germans retreat from the attack.

The Germans are now presented with a new set of challenges as the situation on the battlefield changes dramatically. Steve is preparing a counter-offensive with his newly arrived forces. He does spend ops to play All workers to the front and gains 6 prepared positions. Luckily for me half of them are placed in his supply squares which I have no intention of attacking. He then spends 1 op to tactically position his units.
Even with Soviet casualties mounting to heavy levels, Steve's counterattacks have dealt concerning losses to my armored forces. I cannot afford to exit combat effective units off the map. I need them for a final push on the objective. I need to preserve my weakened units, punch a hole somewhere and exit those units to fulfill the victory conditions. The question is... how?
The Soviet counter-offensive is repulsed with heavy loss but the 110th suffers losses I cannot afford.

Meanwhile on the other flank, 15th Panzer blows through Soviet defenders and, with a follow up tactical phase, exploits and eliminates Soviet artillery punching a hole in the Soviet line.
Having survived Steve's attacks, I launched a few concentrated and well supported attacks looking to eliminate Soviet defenders and punch a hole for my weaker forces to exit the map. I also call up the pioneers of the 111th with 2 companies of their PzIIIs. I will need the armored reinforcements for the final push and the pioneers to reduce the Soviet prepared positions on the objective. I am banking on Steve's forces being too weak to mount a threat to my supply lines.

The Ghost division presses on and Soviet defenders are becoming sparce.

The Soviet left flank collapses. The photo shows the units I was able to exit. Now all I need is that objective!
The pioneers of the 111th were able to mount a precision strike and remove one of the prepared position markers with little Soviet response. The last challenge to overcome is the jump off terrain for my final push is marsh (soft ground) meaning any attacking units are automatically tipped thereby fighting half strength. I do have worn units of the 15th Panzer that broke through and can attack from the flank but it looks like my combat factors may not be enough to eliminate a 3 unit objective defense.
The first major assault happened on Turn 11. If the objective does not fall I will need bonus turns to achieve victory. The assault was conducted by the 110th PG and I poured everything into the attack draining my ops and using both heavy battery divisional assets. It was a devastating attack but, once again, the bartender served up another tequila shot. 3 full strength Soviet units took a beating but 1 unit remained with 1 box left. The Germans retreated. The Soviets reinforced as I could not fully isolate his objective. On bonus turn 3, worn units of the 15th Panzer are my last hope. The German gas tank was empty and the final assault was to weak to achieve victory. I shook Steve's hand. Good game.

So close. A lone Soviet defender survives the brutality of the German assault
What a great scenario! The challenges presented to both sides are difficult and it came down to bonus turns and anyone's game. I do feel it favors the defender. No, not because I lost. Early on, Steve rolled well but with low factor attacks causing casualties I didn't expect. I mentioned the "tequila effect" and that too haunted me. However; my major mid-game offensives were brutal. I can't recall how many high factor, tactics supported attacks had a die roll of 5 or 6. I was rolling hot while Steve struggled to roll a 3. My late game attacks rarely wiffed with 1's or 2's. I was still rolling well. With all that combat success I still struggled to mount more than one effective assault on the objective by nightfall. This needs to be played again! Win or lose, this was one of the most challenging and fun scenarios I have played in years!
I hope you enjoyed the report. Until next time...
...Happy Gaming!
Franko
No comments:
Post a Comment